
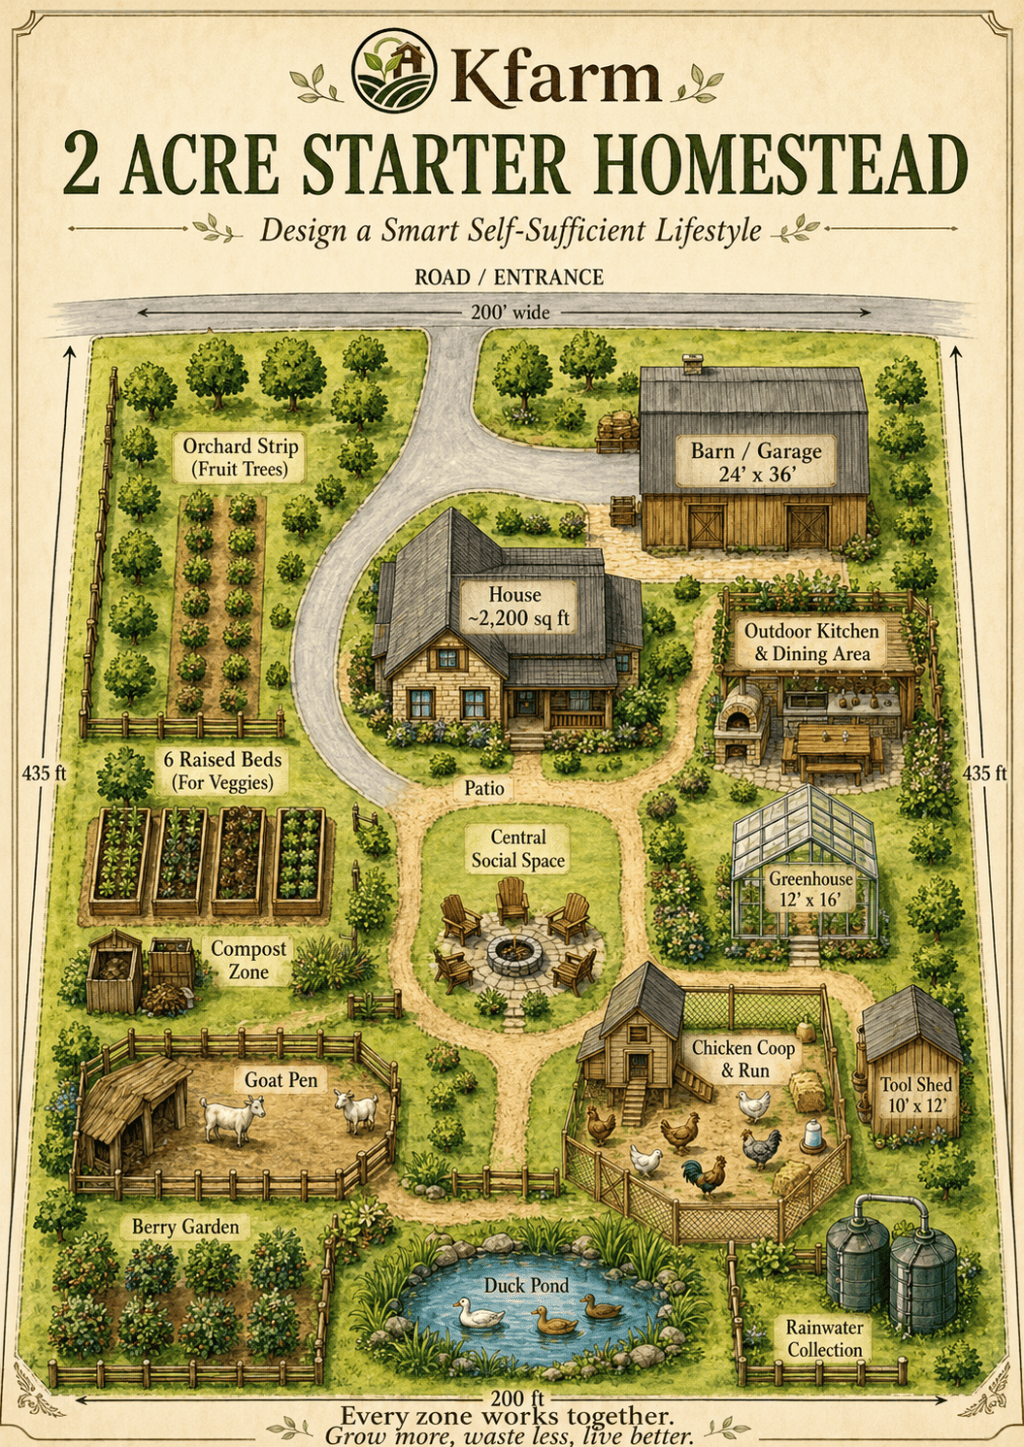
A productive homestead starts before the first raised bed, fence line, coop, or outbuilding is installed. The first job is to understand what the property is already telling you.
On a small acreage, every fixed feature matters more. A house, driveway, septic area, slope, shaded zone, drainage path, or utility corridor can remove a surprising amount of land from practical use. Planning around those realities first is usually easier and less expensive than correcting a layout later.
1. Separate total acreage from usable acreage
The number on a property listing is not the same thing as the amount of land available for gardens, animals, storage, access, or future projects. Start by marking the areas that are already committed or constrained.
- House and existing structures
- Driveway and vehicle access
- Septic system and reserve area
- Well, utilities, easements, or service corridors
- Steep slopes or erosion-prone areas
- Low or persistently wet ground
- Dense shade or mature tree root zones
What remains is the beginning of your working map. It does not mean every open square foot should be developed. It simply gives you a more realistic planning baseline.
2. Watch the sun before placing growing areas
A garden location that looks bright during one visit can behave very differently across the day or across seasons. Observe where direct sun reaches the property in the morning, at midday, and later in the afternoon. Large trees, buildings, fences, and slopes can create patterns that are not obvious from a property map.
For planning purposes, record the pattern before deciding where permanent beds, fruiting crops, perennial plantings, or a greenhouse should go.
3. Follow water instead of guessing about drainage
Water movement is one of the most useful things to observe on a new property. After rain, walk the site and look for where water enters, where it concentrates, where soil erodes, where leaves and debris collect, and where water finally leaves the property.
- Check gutters and downspouts.
- Watch the foundation edge.
- Trace visible surface-flow paths.
- Note low spots and temporary puddling.
- Look for rills, exposed soil, or deposited sediment.
The goal at this stage is observation, not immediate redesign. Existing water paths often become much easier to understand after a few real rain events.
4. Protect access before filling the property
A layout can look efficient on paper and still be frustrating to use if wheelbarrows, feed bags, compost, trailers, garden carts, or maintenance equipment cannot move through it. Keep practical circulation in the plan from the beginning.
Think about how you will reach each working zone in wet weather, how materials will arrive, and whether one project blocks access to another.
5. Place systems in relationship to one another
Good homestead planning is less about fitting the maximum number of features onto a property and more about arranging the features you actually need so they support one another.
- Frequently used areas should be reasonably convenient.
- Water-dependent areas need a practical water source.
- Compost and garden systems should be easy to move materials between.
- Poultry areas need access for feed, bedding, cleaning, and predator protection.
- Storage should support the work happening nearby.
6. Keep uncertain areas flexible
You do not need to decide the entire property in the first season. Areas with uncertain drainage, changing shade, unknown soil behavior, or future infrastructure needs can stay flexible while you collect more information.
Temporary beds, movable fencing, container growing, and clearly marked observation zones can help you learn the property without locking in expensive mistakes.
A simple first-property walk
- Mark fixed structures and known restrictions.
- Identify obvious sun and shade zones.
- Walk the property after rain.
- Mark access routes and working paths.
- Note the best candidate areas for food growing, poultry, storage, and future infrastructure.
- Leave unresolved areas uncommitted until you have more observations.
The point is not to create a perfect master plan in one afternoon. It is to make the next decision with better information.
Continue planning with KFarm
Use the Free Homestead Land Buying Checklist as a practical property-screening tool, then move into the American Homestead Atlas for a broader small-acreage planning framework.
KFarm educational content is intended for general planning. Verify local codes, setbacks, septic and well requirements, easements, utilities, and other property-specific restrictions before construction or land-use changes.
Free KFarm Resource
Homestead Land Buying Checklist — use the 15-question scorecard to screen a property before committing to major plans or purchases.
Related KFarm Guide
American Homestead Atlas — a 56-page KFarm small-acreage planning guide for organizing land, access, growing areas, working zones, and future systems.
Get new KFarm articles
Subscribe for new KFarm articles, free resources, and practical planning guides.


Response
[…] with Before You Build: Read the Property First, then use Your Septic Area Is Part of the Plan for the features that are easy to […]
LikeLike